
A perfect manicure can make your hands look elegant and polished. But going to the salon for a manicure can be expensive and time-consuming. The good news is that you can achieve a perfect manicure at home with just a few tools and some patience. In this blog post, we will discuss the steps to a perfect manicure at home.
We’ll also share some tips and tricks to help you get salon-quality manicure at home. Whether you’re new to at-home manicures or a pro, this post will provide you with all the information you need to create beautiful and polished nails that will make you feel confident and stylish.
Step 1: Remove Old Nail Polish
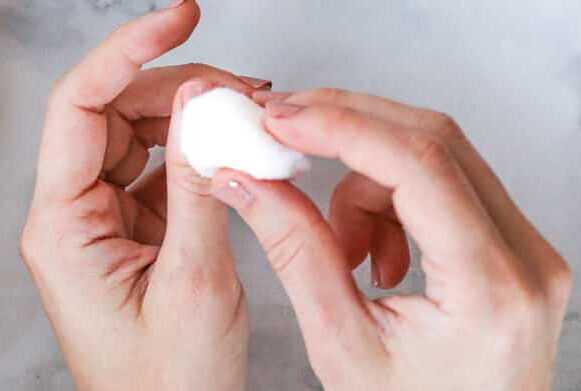
The first step to a perfect manicure is to remove any old nail polish using a nail polish remover. Choose a remover that is gentle on your nails and doesn’t contain harsh chemicals. Apply the remover to a cotton ball and gently rub it over your nails until the polish is completely removed.
Step 2: Shape Your Nails
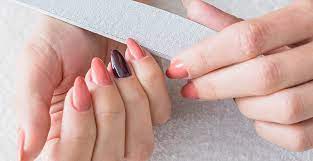
Once your nails are clean, use a nail file to shape them. Choose the shape that suits your style and personality. Some popular nail shapes include square, oval, and almond. File your nails in one direction to avoid damaging the nail bed.
Step 3: Soak Your Nails

Soaking your nails in warm water can help soften your cuticles and make them easier to push back. Add a few drops of essential oil or Epsom salt to the water for added relaxation. Soak your nails for about five minutes and then pat them dry with a towel.
Step 4: Push Back Cuticles
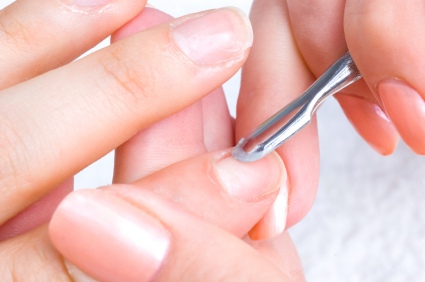
Use a cuticle pusher to gently push back your cuticles. This helps to create a clean and uniform edge around your nails. Be gentle and don’t push too hard, as this can damage your cuticles.
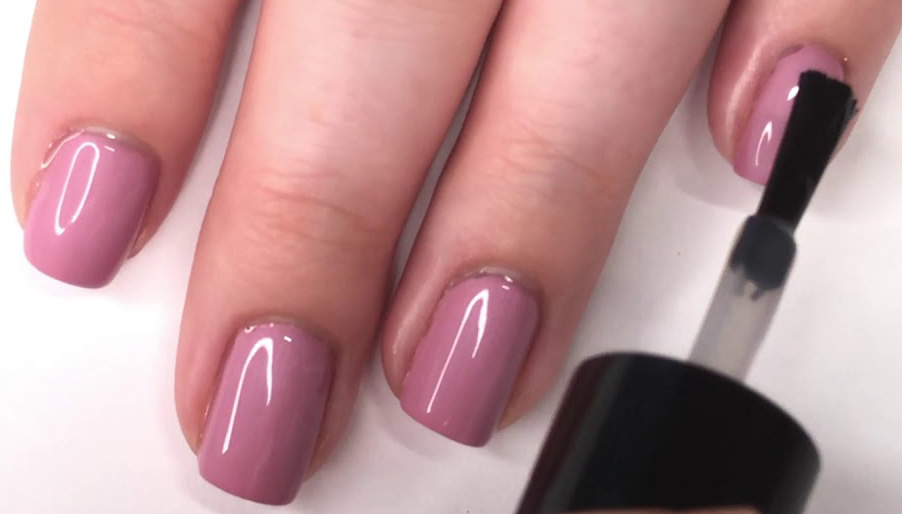
Step 5: Apply Nail Polish
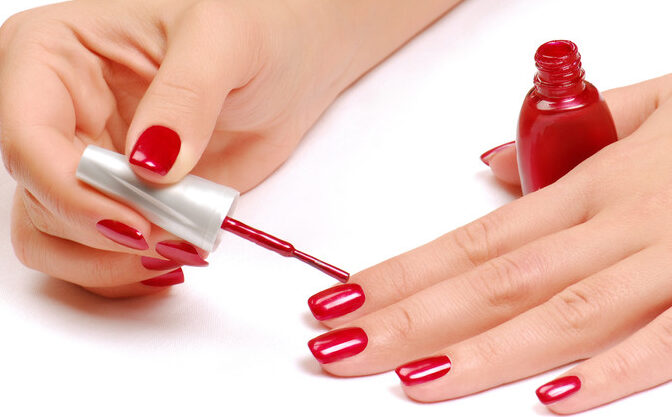
Apply a base coat of nail polish to your nails. This helps to protect your nails and prevent the polish from staining them. Once the base coat is dry, apply two coats of your desired nail polish color. Make sure to wait for each coat to dry before applying the next one.
Step 6: Apply Top Coat
Once your nail polish is dry, apply a top coat. This helps to protect your nails and prevent chipping. Make sure to cover the entire surface of the nail with the top coat.
Step 7: Clean Up Excess Polish
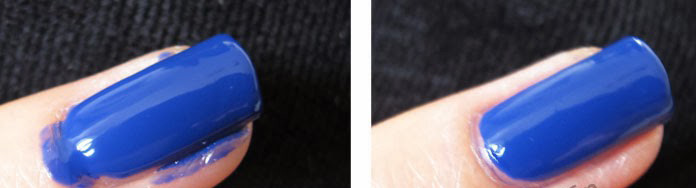
Use a cotton swab dipped in nail polish remover to clean up any excess polish around your nails. This helps to create a clean and polished look.
Tips And Tricks For Professional-Looking Manicure At Home

With these additional tricks, you can achieve a professional-looking manicure at home that keep your nails looking best.
- Choose the right nail shape for your hand.
- When applying nail polish, use three strokes – one down the center of the nail, followed by one on each side. This helps to ensure even coverage and prevent streaks or bumps.
- Always apply a fresh layer of top coat that extend the longevity of your manicure.
- Avoid smudging your polish by allowing each coat to dry completely before applying another.
- Once your nails are dry, moisturize your hands and cuticles with a nourishing cream.
- Quick-dry drops can help speed up the drying process and prevent smudging or smearing. Apply a drop of quick-dry drops to each nail after applying the top coat.